DevLog: Week 4 Level Design and Prototyping
Building engaging environments is an important and challenging task. It is the bridge between a character’s mechanics and the player’s experience. This week in the Skills Bootcamp, we shifted our focus from the "how" of coding to the "where" of gameplay, investing time into professional tools for "blocking out" and the ongoing development of game worlds.
The standout tool for this phase is ProBuilder, a unique hybrid of 3D modeling and level design that allows for rapid iteration directly within the Unity Editor.
The Power of ProBuilder in Professional Workflows
In a professional studio environment, speed and flexibility are paramount. Relying on standard Unity primitives (cubes and spheres) is often too limiting, while jumping straight into external 3D software like Blender can be too slow for early-stage design.
ProBuilder bridges this gap. This week, I used it to:
Vertex and Face Editing: Sculpting geometry specifically tailored to gameplay needs such as sloped ramps, arched doorways, and custom stairs without leaving the engine.
Extrusion and Beveling: Quickly creating complex architectural shapes to test sightlines and cover mechanics.
In-Engine UV Mapping: Applying basic textures to ensure that the scale and orientation of surfaces feel correct to the player.
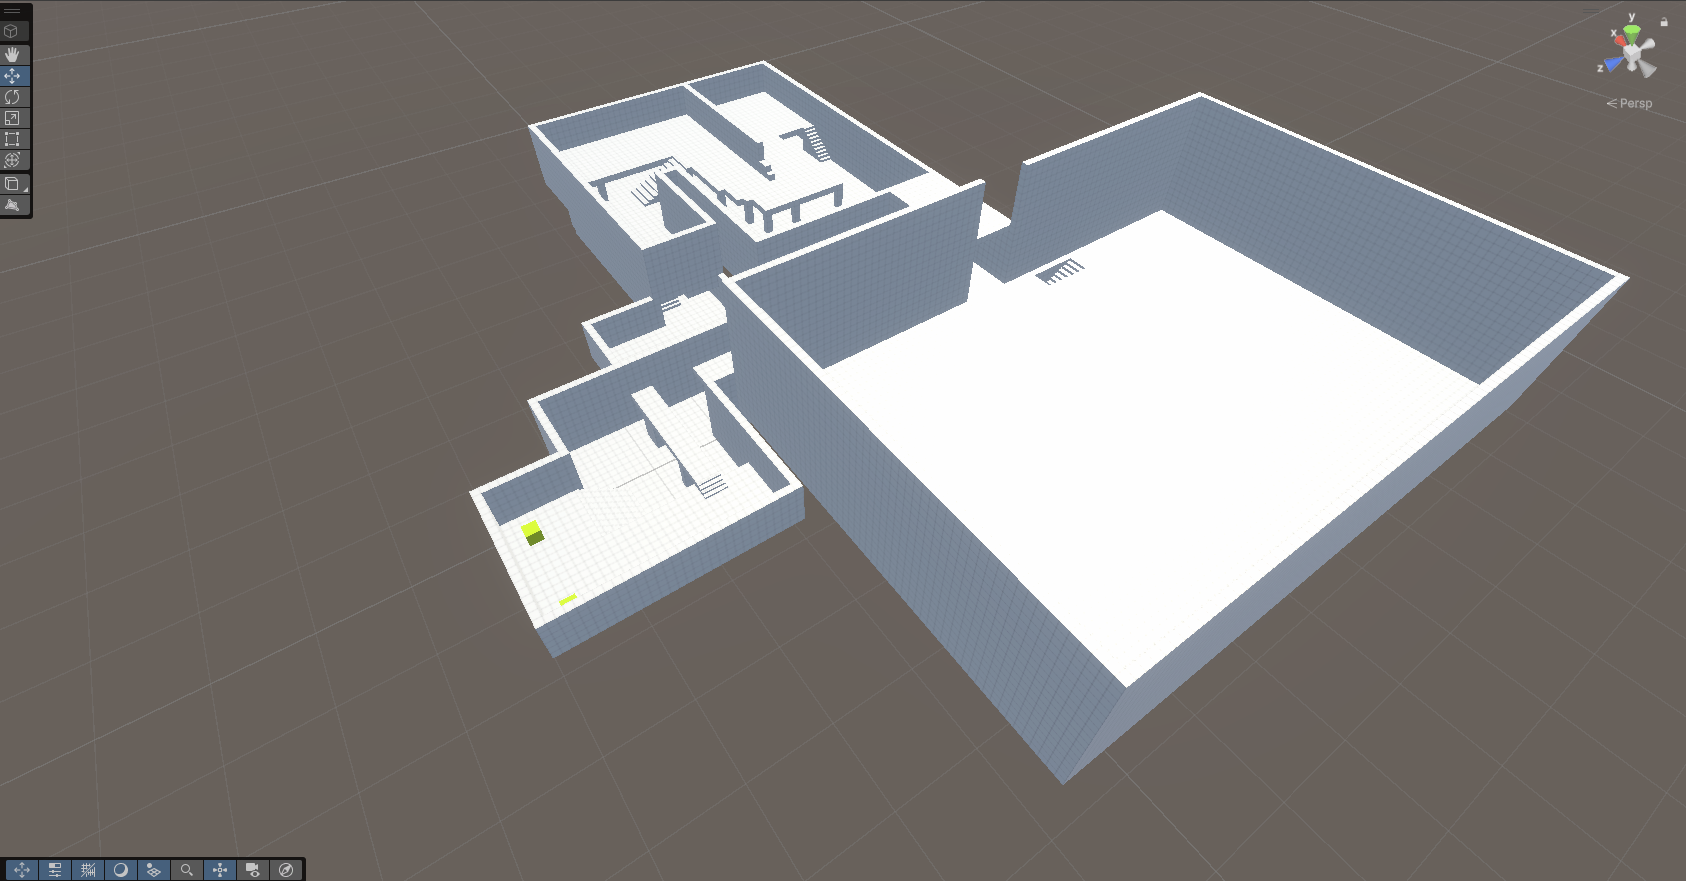
The "Blocking Out" Phase: Testing Fun Over Fidelity
The most critical part of this week was mastering the "Greybox" (or Whitebox) methodology. The goal of a greybox isn't to make a beautiful world; it's to prove that the level design is fun before a single art asset is created.
I focused on several key design pillars during this process:
Player Metrics: Ensuring that jump heights, movement speeds, and character widths (established in Week 3) perfectly match the environment. If a player can’t make a jump, the geometry is adjusted instantly in ProBuilder.
Scale and Proportion: Using "Human Scale" reference models to ensure rooms don't feel cavernous and hallways don't feel claustrophobic.
Sightlines and Flow: Placing geometry to guide the player’s eye toward objectives and using "Leading Lines" to suggest the intended path through the level.
Iterative Development and Playtesting
A major challenge in level design is resisting the urge to "polish" too early. By keeping the environment in a ProBuilder state, I maintained a high level of Iterative Flexibility.
During testing, if a combat encounter felt too easy, I could extrude a new pillar for cover in seconds. If a puzzle was too confusing, I could shift a doorway to improve visibility. This ability to respond to playtest data in real-time is a core skill for any Technical Level Designer.
Integrating Mechanics into the World
This week perfectly complemented the work I did in Week 2 and 3. I integrated my Event-Driven Trigger Systems into my ProBuilder geometry.
Interaction: Placing trigger zones near ProBuilder-made buttons.
Navigation: Using the Unity NavMesh to ensure AI characters could navigate the custom-built geometry.
Environmental Storytelling: Using the layout of the greybox to suggest a narrative, even without final textures or props.
Reflection: Thinking Like a Technical Level Designer
This week taught me that a great level designer is part architect and part psychologist. By investing in tools like ProBuilder and focusing on the "blocking out" phase, I am developing a workflow that prioritizes gameplay-first design.
For a potential employer, this demonstrates my understanding of the full production pipeline: I know how to build a world that isn't just visually striking, but one that is technically sound and mechanically balanced.
Technical Milestone: Designed and greyboxed a multi-room "Challenge Chamber" that utilizes verticality and 360-degree combat encounters, fully playable with the character controller developed in previous weeks.